 (Image via
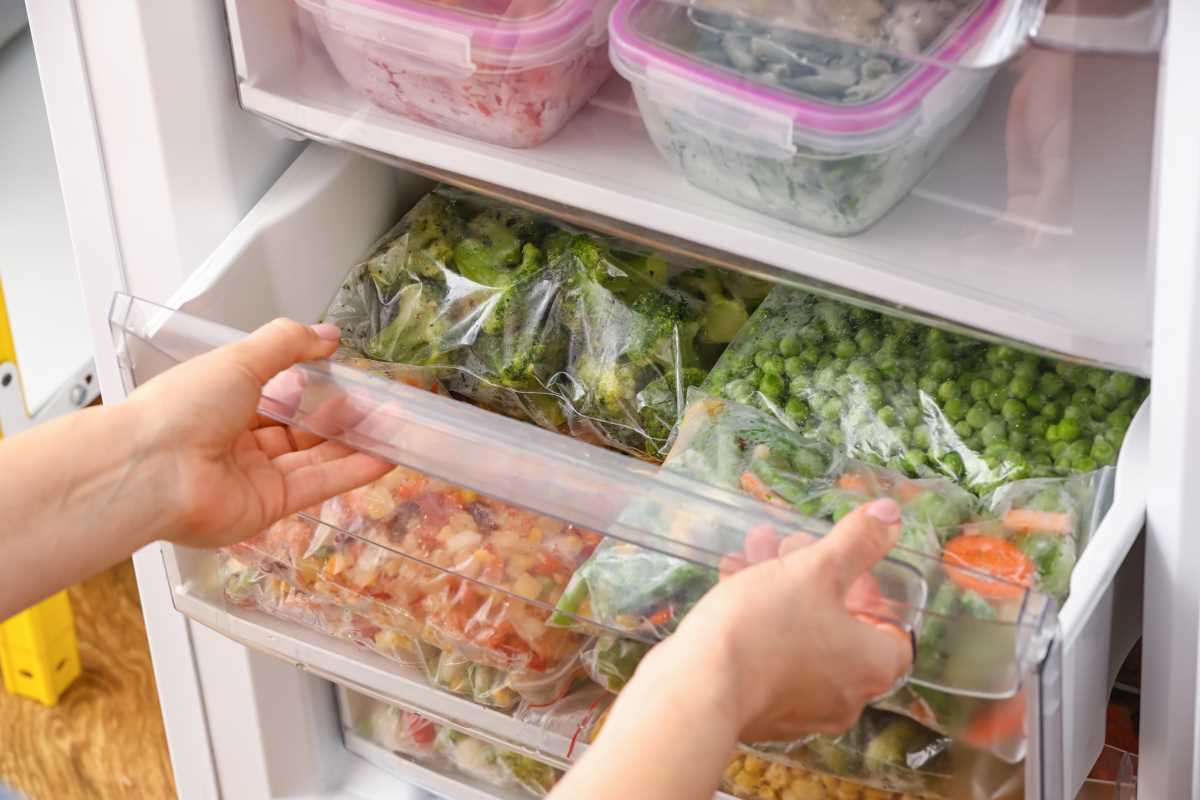
The promise of a freezer full of ready-to-eat meals is a dream for busy people. You imagine pulling out a delicious, home-cooked dinner on a chaotic evening, saving you time and stress. The reality, however, can be disappointing. Too often, frozen meals turn into a sad, mushy, or bland version of their former selves after reheating. The secret isn't what you freeze, but how you freeze it. Certain recipes are specifically designed to hold up beautifully in the freezer, retaining their freshness and flavor as if they were made that day.
The Science of Freezing: What Works and What Doesn't
Understanding why some foods freeze better than others is key to successful meal prepping. The main enemy of frozen food is water. When water freezes, it expands and forms ice crystals. Large, sharp ice crystals can rupture the cell walls of food, which is why delicate items like lettuce or cucumbers turn into a watery mess upon thawing.
Foods that freeze well generally fall into a few categories:
- Soups, Stews, and Chilis: Liquids protect the other ingredients from freezer burn and help them retain their texture. These dishes often taste even better after freezing, as the flavors have more time to meld.
- Casseroles and Bakes: Dishes with sauces, like lasagna or enchiladas, hold up well because the sauce keeps the other components moist.
- Saucy, Shredded Meats: Pulled pork or chicken in a barbecue or other sauce freezes perfectly. The sauce prevents the meat from drying out.
Conversely, some foods don't belong in the freezer. Avoid freezing fried foods (they lose their crispiness), dishes with cream-based sauces (they can separate and become grainy), and raw potatoes (they can become gritty and dark).
Best Practices for Freezing and Reheating
Before we get to the recipes, let's cover the rules for ensuring your freezer-friendly recipes taste amazing when reheated. Following these steps prevents freezer burn and preserves flavor.
- Cool Completely: Never put hot food directly into the freezer. This raises the internal temperature of your freezer, potentially partially thawing other items. Let your food cool completely on the counter or in the fridge first.
- Use the Right Containers: Invest in high-quality, airtight freezer-safe containers, freezer bags, or a vacuum sealer. The goal is to remove as much air as possible to prevent freezer burn, which happens when moisture evaporates from the surface of the food.
- Label Everything: This is non-negotiable. Use a permanent marker to label each container with the name of the dish and the date it was frozen. This helps you know what you have and ensures you eat things within a reasonable time (most meals are best within 3 months).
- Thaw Properly: For the best results, thaw your meals overnight in the refrigerator. This gentle thawing helps the food retain its texture. Microwaving to thaw can work in a pinch, but it can sometimes start to cook the food unevenly.
Freezer-Friendly Recipes: Hearty Lentil Soup
This soup is a nutritional powerhouse that tastes even better after being frozen. It’s packed with plant-based protein and fiber, making it a satisfying and healthy meal.
You'll Need:
- 1 tablespoon olive oil
- 1 large onion, chopped
- 2 carrots, chopped
- 2 celery stalks, chopped
- 3 cloves garlic, minced
- 1 ½ cups brown or green lentils, rinsed
- 8 cups vegetable broth
- 1 can (14.5 oz) diced tomatoes, undrained
- 1 teaspoon dried thyme
- Salt and pepper to taste
Instructions:
- In a large pot or Dutch oven, heat the olive oil over medium heat. Add the onion, carrots, and celery and cook until softened, about 5-7 minutes. Stir in the minced garlic and cook for one more minute until fragrant.
- Add the rinsed lentils, vegetable broth, diced tomatoes, and thyme to the pot.
- Bring the soup to a boil, then reduce the heat and let it simmer, partially covered, for 45-60 minutes, or until the lentils are tender. Season with salt and pepper.
- Freezing: Let the soup cool completely. Ladle it into freezer-safe containers or bags, leaving about an inch of space at the top for expansion. Freeze for up to 3 months.
- Reheating: Thaw overnight in the fridge. Reheat gently on the stovetop, adding a splash of broth or water if it has thickened too much.
Classic Beef Lasagna
Lasagna is the king of freezer meals. The layers of pasta, sauce, and cheese meld together beautifully, and it’s a crowd-pleasing dish that’s perfect for having on hand for unexpected guests or busy nights.
You'll Need:
- 1 lb ground beef
- 1 jar (24 oz) of your favorite marinara sauce
- 1 container (15 oz) of ricotta cheese
- 1 large egg, beaten
- 1 cup grated Parmesan cheese, divided
- 9-12 lasagna noodles, cooked al dente
- 2 cups shredded mozzarella cheese
Instructions:
- Preheat your oven to 375°F (190°C). In a large skillet, brown the ground beef. Drain the fat and stir in the marinara sauce.
- In a separate bowl, mix together the ricotta cheese, beaten egg, and ½ cup of Parmesan cheese.
- To assemble, spread a thin layer of the meat sauce in the bottom of a 9x13-inch baking dish. Layer with lasagna noodles, followed by a layer of the ricotta mixture, and then a layer of mozzarella cheese. Repeat the layers, ending with a final layer of meat sauce topped with mozzarella and the remaining Parmesan.
- Freezing: At this point, you can bake it or freeze it unbaked. To freeze, cover the dish tightly with a layer of plastic wrap and then a layer of aluminum foil. Freeze for up to 3 months.
- Reheating: For best results, thaw the lasagna in the refrigerator overnight. Remove the plastic wrap and foil. Bake at 375°F (190°C) for about an hour, or until hot and bubbly. You can also bake from frozen, but it will take longer, around 90 minutes.
Slow Cooker Pulled Pork
This recipe is incredibly low-effort and yields a large batch of versatile pulled pork that can be used for sandwiches, tacos, or salads.
You'll Need:
- 4-5 lb pork shoulder (Boston butt)
- 1 onion, thinly sliced
- 2 cups of your favorite BBQ sauce
- ½ cup apple cider vinegar
- ¼ cup brown sugar
Instructions:
- Place the sliced onion in the bottom of your slow cooker. Place the pork shoulder on top.
- In a bowl, whisk together the BBQ sauce, apple cider vinegar, and brown sugar. Pour the mixture over the pork.
- Cook on low for 8-10 hours or on high for 4-5 hours, until the pork is fall-apart tender.
- Remove the pork from the slow cooker and shred it with two forks. Return the shredded meat to the sauce in the slow cooker and stir to combine.
- Freezing: Let the pulled pork cool completely. Portion it into freezer bags. Squeeze out as much air as possible before sealing. Freeze flat for easy storage for up to 3 months.
- Reheating: Thaw overnight in the fridge. Reheat in a saucepan over medium-low heat or in the microwave.