 (Image via
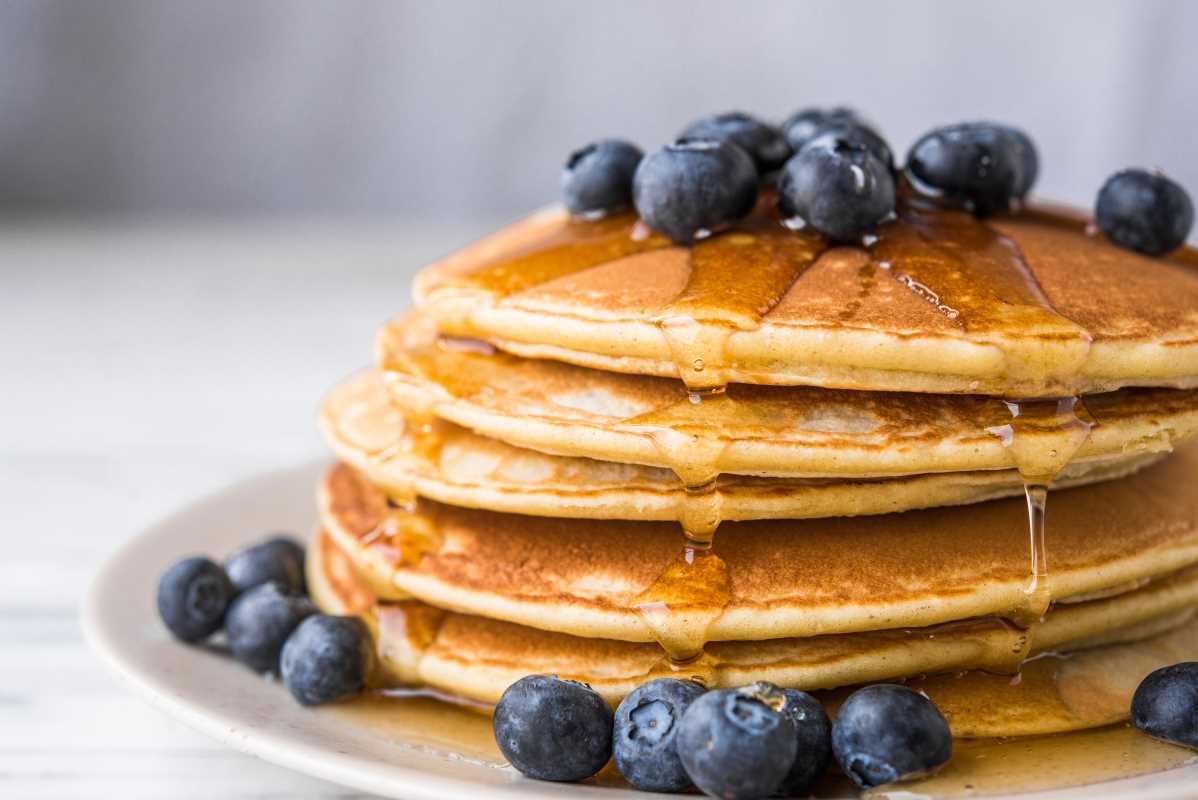
Imagine a perfect weekend morning. The star of the show is a tall stack of golden-brown pancakes, so light and airy they practically float off the plate. We’ve all had the disappointing experience of aiming for that ideal but ending up with flat, dense, rubbery discs instead. The dream of fluffy pancakes can feel like a secret known only to diner cooks and seasoned grandmas. The good news is that it’s not magic; it’s science. There are a few simple tricks that make all the difference.
Why Do Pancakes Fall Flat?
Understanding what makes a pancake fluffy first requires knowing why they often fail. A fluffy pancake gets its lift from air bubbles created in the batter. The goal is to create as many of these bubbles as possible and then protect them until the pancake is cooked.
The main culprit behind flat pancakes is an overdeveloped gluten network. Gluten is a protein in flour that forms elastic strands when mixed with liquid. A little gluten is good because it gives the pancake structure. Too much gluten, which happens when you overmix the batter, makes the pancakes tough and chewy instead of light and tender. The second enemy of fluffiness is deflating the air bubbles you worked so hard to create. Every step, from mixing to flipping, should be done to preserve that precious air.
The Science of Fluff: Key Ingredients Matter
Before we get to the technique, let's look at the ingredients. The right components set the stage for a perfect rise. A basic pancake batter includes flour, a leavening agent, liquid, sugar, fat, and eggs. Each one plays a key role.
- Leavening Agents: This is your primary source of lift. Most recipes use baking powder. Baking powder is double-acting, meaning it creates bubbles when it gets wet and again when it gets hot. Make sure your baking powder is fresh. It loses its power over time. To test it, drop a teaspoon into a bit of hot water. It should bubble up vigorously.
- The Liquid: Buttermilk is a fantastic choice for pancakes. The acid in buttermilk reacts with the baking soda (if your recipe includes it) and also helps to tenderize the gluten, resulting in a softer pancake. No buttermilk? You can make a quick substitute by adding a tablespoon of lemon juice or white vinegar to one cup of regular milk. Let it sit for five minutes before using.
- The Fat: Melted butter adds incredible flavor. Some recipes use oil, which can also yield a tender pancake. Using melted butter gives you that classic, rich taste that is hard to beat.
The Real Trick: Mixing and Resting the Batter
Here is the single most important part of the process. How you combine your ingredients has a massive impact on the final texture of your pancakes.
The Two-Bowl Method
Always mix your dry ingredients and wet ingredients in separate bowls.
- In a large bowl, whisk together your flour, sugar, baking powder, and salt. Whisking them ensures the leavening agent is evenly distributed, which means a consistent rise across all your pancakes.
- In a second, medium bowl, whisk together your wet ingredients: milk or buttermilk, eggs, and melted butter.
Combine with Care: Lumps are Your Friend
Now, pour the wet ingredients into the dry ingredients. You must resist the urge to mix the batter until it's perfectly smooth.
- Mix Until Just Combined: Use a spatula or wooden spoon to fold the ingredients together until the flour streaks have disappeared. The batter should be thick and very lumpy. These lumps are pockets of flour that will hydrate as the batter rests, and they are a sign that you haven't over-activated the gluten.
- Why Overmixing is Bad: Stirring too much develops those tough gluten strands. It also knocks out the air you incorporated. A smooth, runny batter will lead to flat, tough pancakes. Aim for a mixing time of no more than 15-20 seconds.
Let it Rest
After mixing, let your batter rest for at least 10 to 15 minutes. You can even let it rest for up to 30 minutes. This resting period is major for two reasons. First, it allows the gluten you developed to relax, resulting in a more tender pancake. Second, it gives the flour time to fully absorb the liquid, which helps to dissolve some of those lumps naturally and thickens the batter.
Cooking Technique for Maximum Fluff
Your batter is ready. Now it’s time to cook. Your technique on the griddle is as important as your mixing method.
Get the Temperature Right
A properly heated pan is essential. The pan should be hot enough to make the pancake sizzle on contact, but not so hot that it burns before the inside is cooked.
- Medium Heat is Key: Set your stove to medium heat. A non-stick skillet or a well-seasoned cast-iron griddle works best.
- The Water Test: To check if your pan is ready, flick a few drops of water onto the surface. The drops should sizzle and dance across the pan before evaporating. If they evaporate instantly, the pan is too hot. If they sit there, it’s not hot enough.
- Grease Lightly: Use a small amount of butter or a neutral oil to lightly grease the pan. Wipe out any excess with a paper towel. Too much fat can cause the pancakes to fry and have greasy, uneven edges.
The Flip: Timing is Everything
Ladle about a quarter-cup of your thick, lumpy batter onto the hot griddle for each pancake. Don't crowd the pan. Now, watch for the signs.
- Look for Bubbles: You'll see bubbles start to form and pop on the surface of the pancake. The edges will also start to look dry and set. This is your signal that it's time to flip.
- One Flip Only: Resist the urge to press down on the pancake with your spatula after flipping. Pressing down is the fastest way to deflate your beautiful, fluffy creation. Flip it once, and let it cook for another minute or two on the other side until golden brown.